Configure your shade sail online
Design, shape, fabric. Ready in 5 days.
Learn more
Discover our fabrics! Order your samples and feel the quality for yourself
FIXED SHADE SAILS
ROLL-UP SHADE SAILS
OUTLET & ACCESSORIES
SAILS BY SHAPE
BUYING GUIDE
INSTALLATION GUIDE
APPLICATIONS
BUYING GUIDE
CUSTOM ROLLER SHADES
STANDARD ROLLER SHADES
BUYING GUIDE
BUYING GUIDE
Shade sails
An eyelet tarpaulin, equipped with metal rings along the edges, is widely used in a variety of contexts, from domestic to commercial. From covering pergolas or gazebos to protecting swimming pools or terraces, eyelet tarpaulin is a versatile tool that adapts to all needs.
Get inspired and discover the applications and ways to attach your eyelet tarpaulin.

Before delving into the technique for securing an eyelet tarpaulin, it is important to understand the many applications of this versatile tool.
Grommeted sheeting, equipped with metal rings along the edges, is widely used in a variety of contexts, from domestic to commercial. Here is a list of its main applications.
Eyelet tarpaulins are extremely versatile tools that can adapt to a wide range of needs and environments, making the use of outdoor spaces more comfortable and functional. Let's see now how to fix a grommeted sheeting.
For firm, rain- and wind-resistant coverage, Bugna eyelet tarpaulin needs even tension on all sides. The methods for tying an eyelet tarpaulin to your pergola are varied, but for proper tension we recommend that you maintain a distance of 15 cm between the eyelet and the button.
Another factor to consider when installing our eyelet tarps its degree of inclination. Adequate inclination is essential in order not to create annoying water stagnation and thus allow proper runoff. We therefore recommend a tilt of 25% to maximize the performance of our waterproof fabrics.


You can attach the buttons to the top of the perimeter beams of the pergola. By adopting this solution you will give a cleaner and neater look to your pergola as the fastening system will not be visible to those using it.
You can attach the buttons on the underside of the perimeter beams of the pergola. We recommend that you run the fabric over the middle rafters to take advantage of their support in case of rain.
You can attach the buttons on the outer side of the perimeter beams of the pergola. By adopting this solution you will be able to use the sheet over the entire span of the pergola, avoiding having space between the upright and the sheet.
Tip
If the structure is not sloped, you can use this installation to create the necessary slope. Run rubber bands from above in one side and from below in the opposite side. The slope will allow proper runoff and thus avoid the formation of annoying water stagnation.
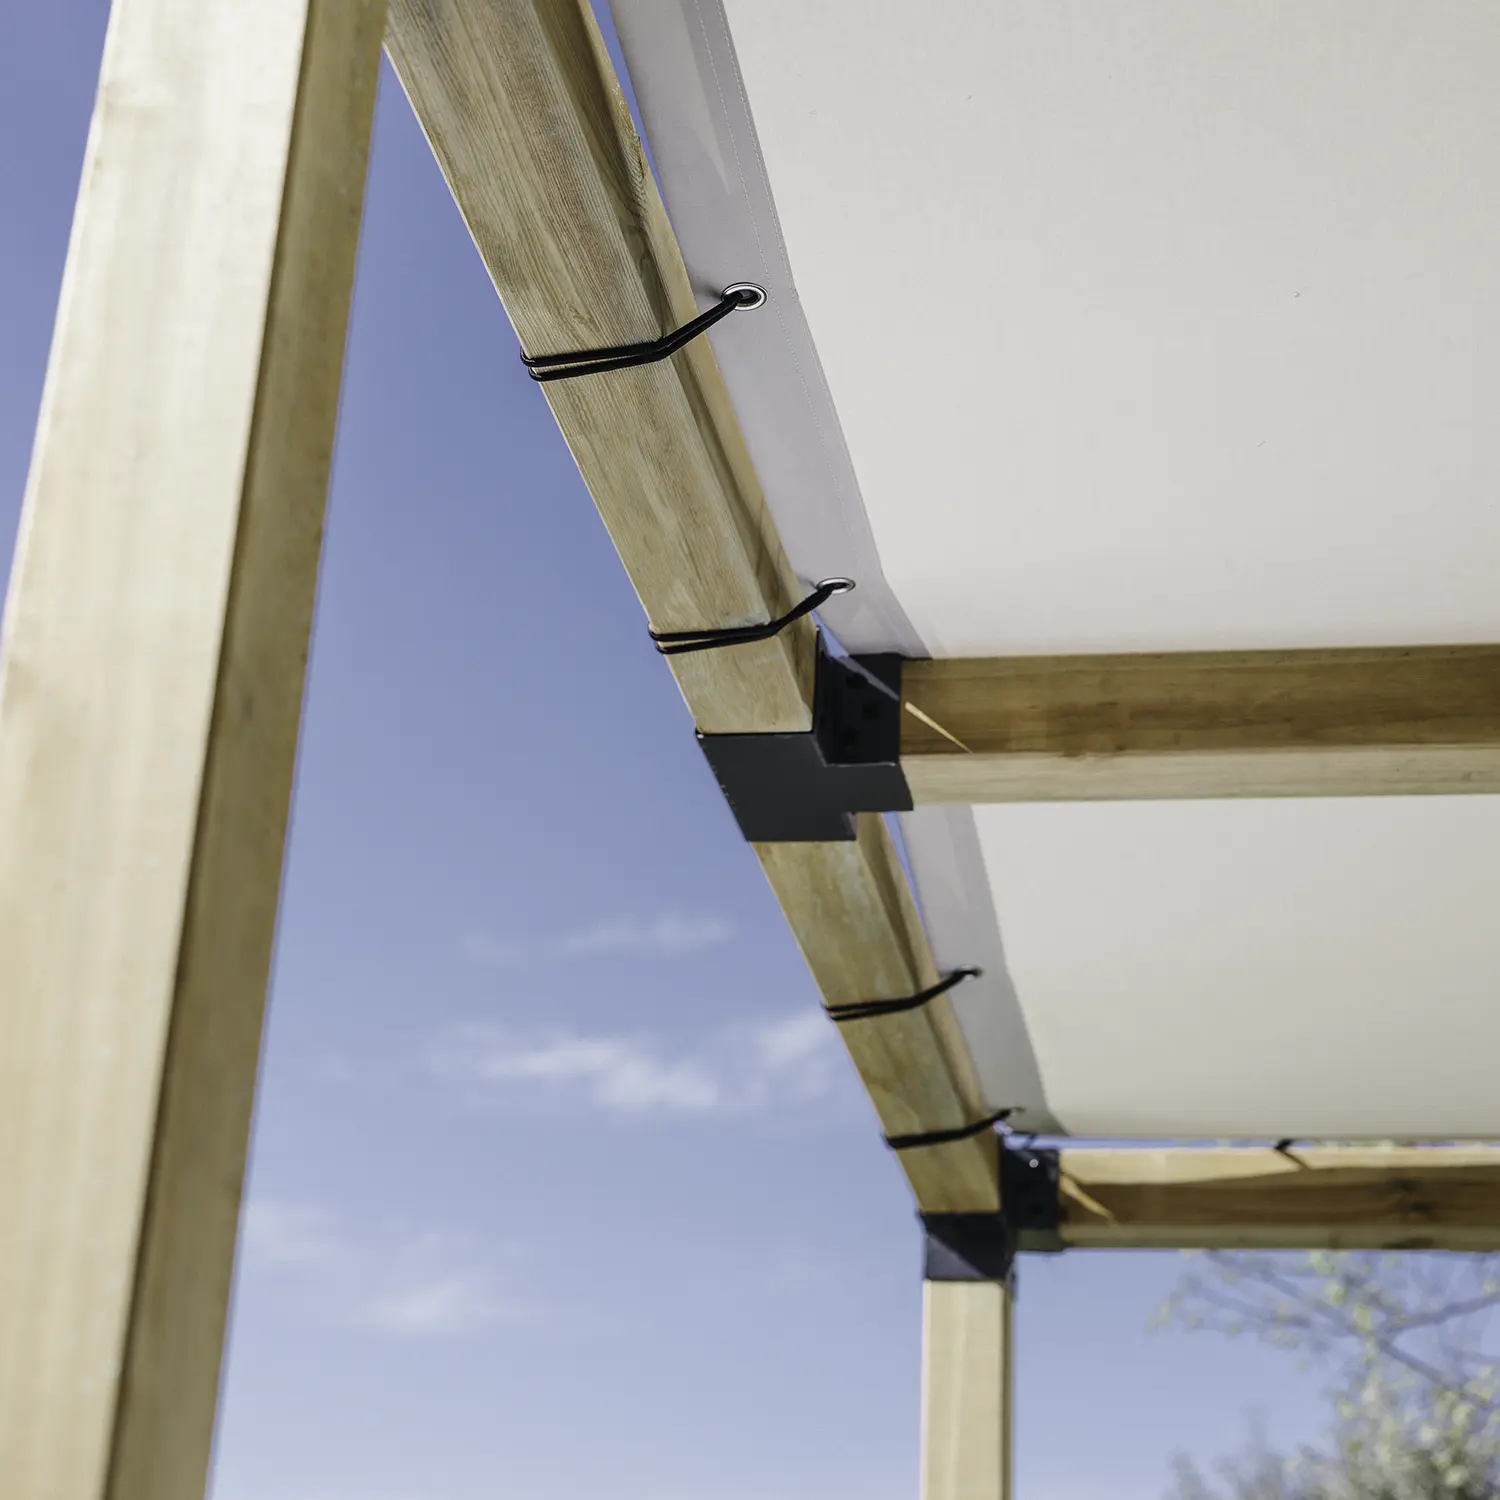
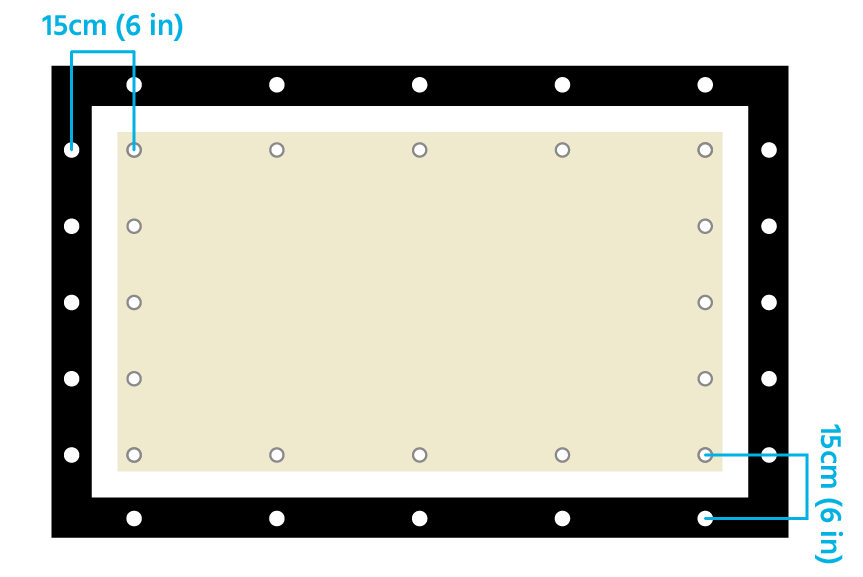
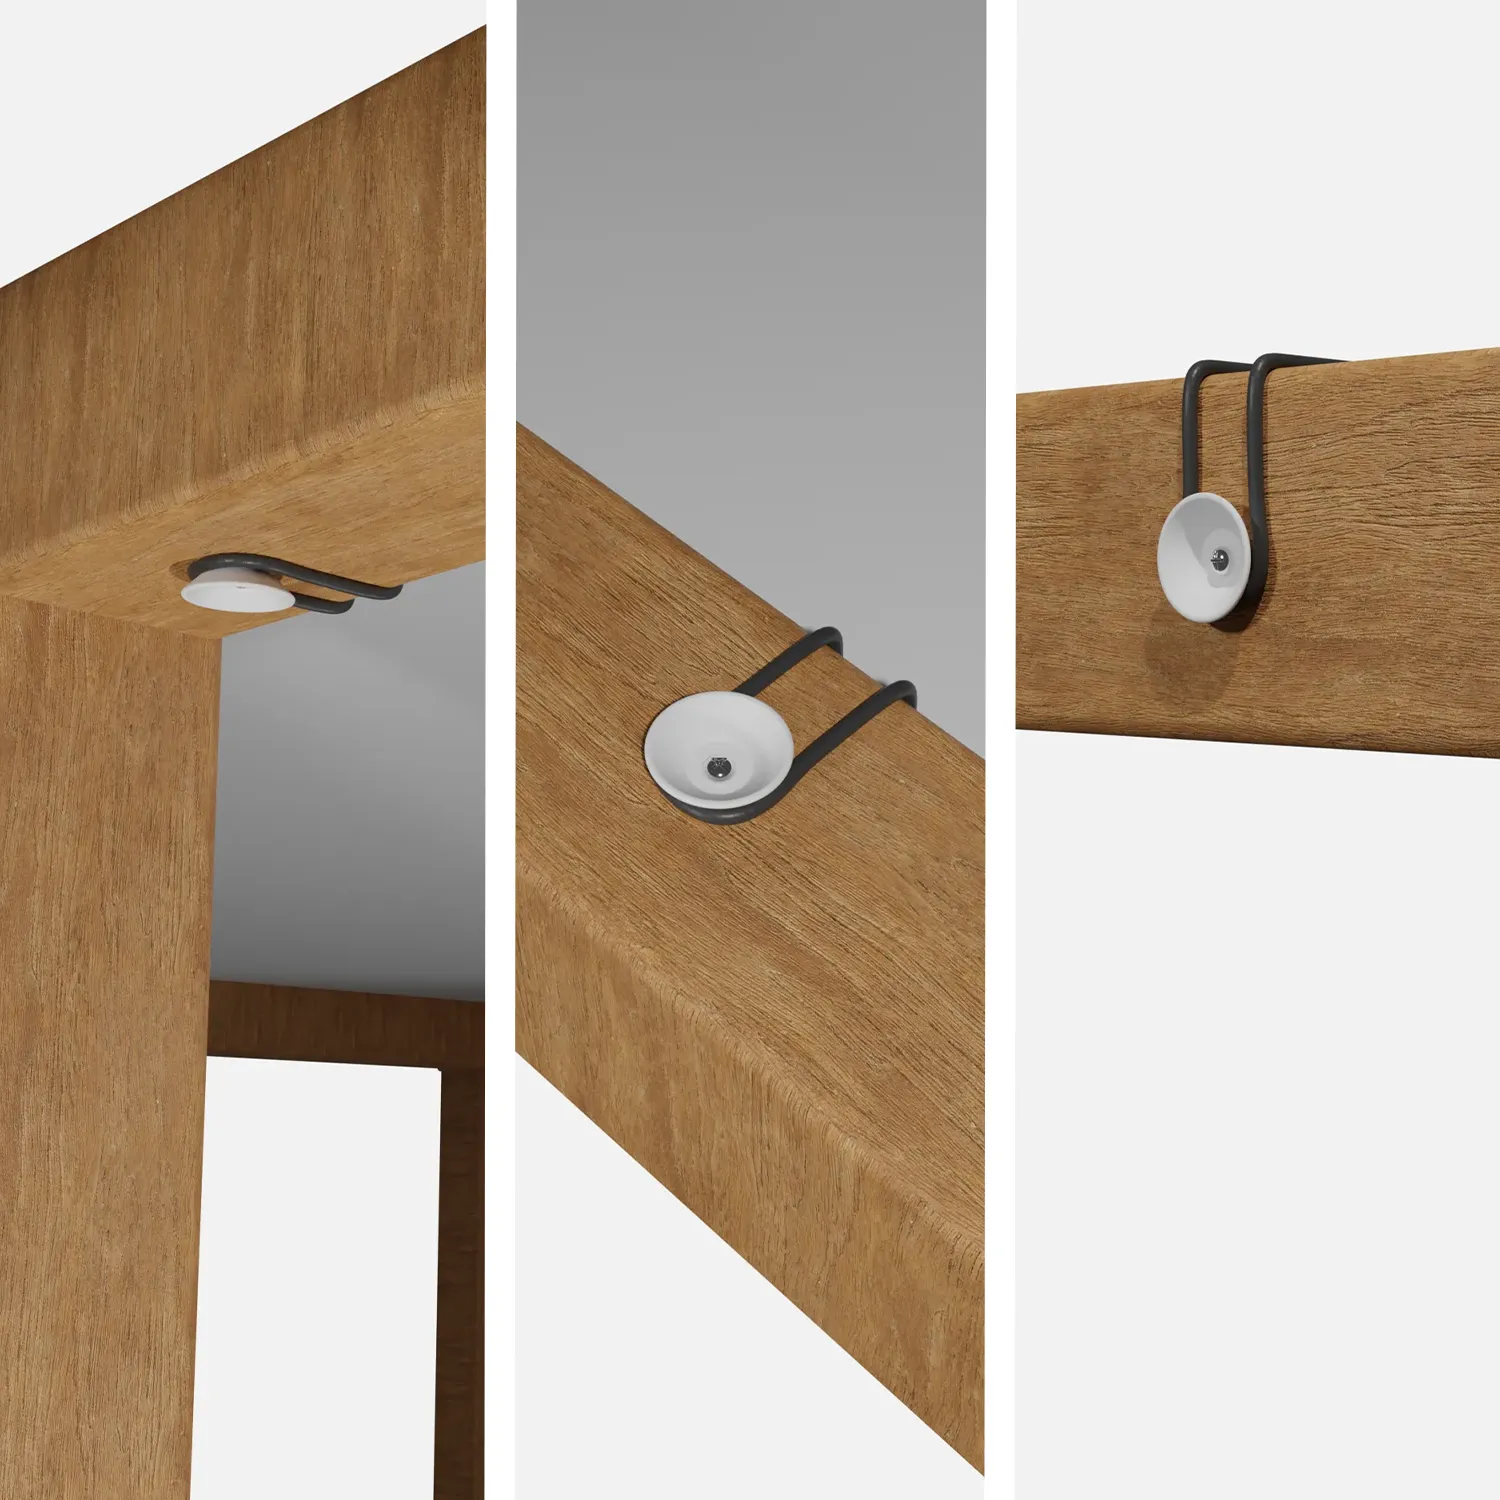
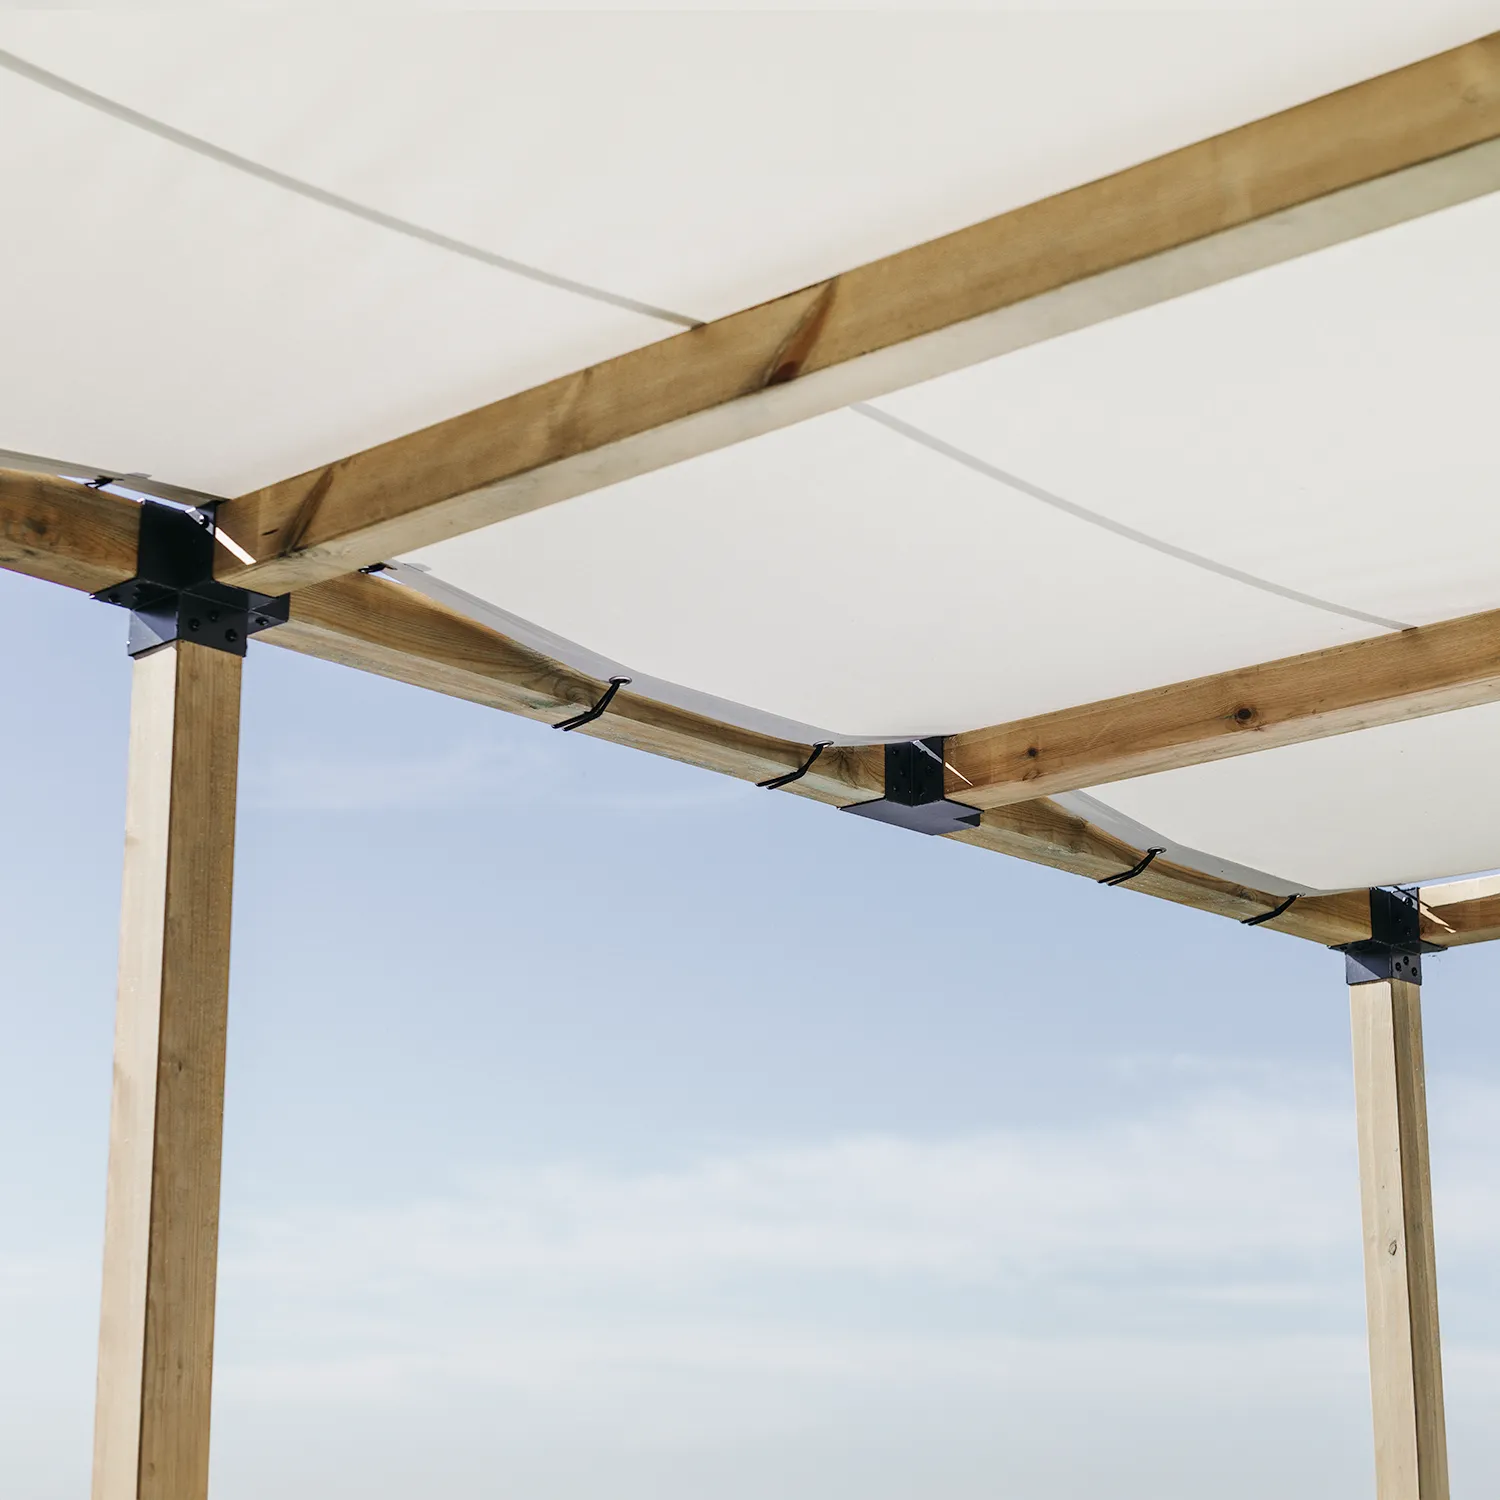
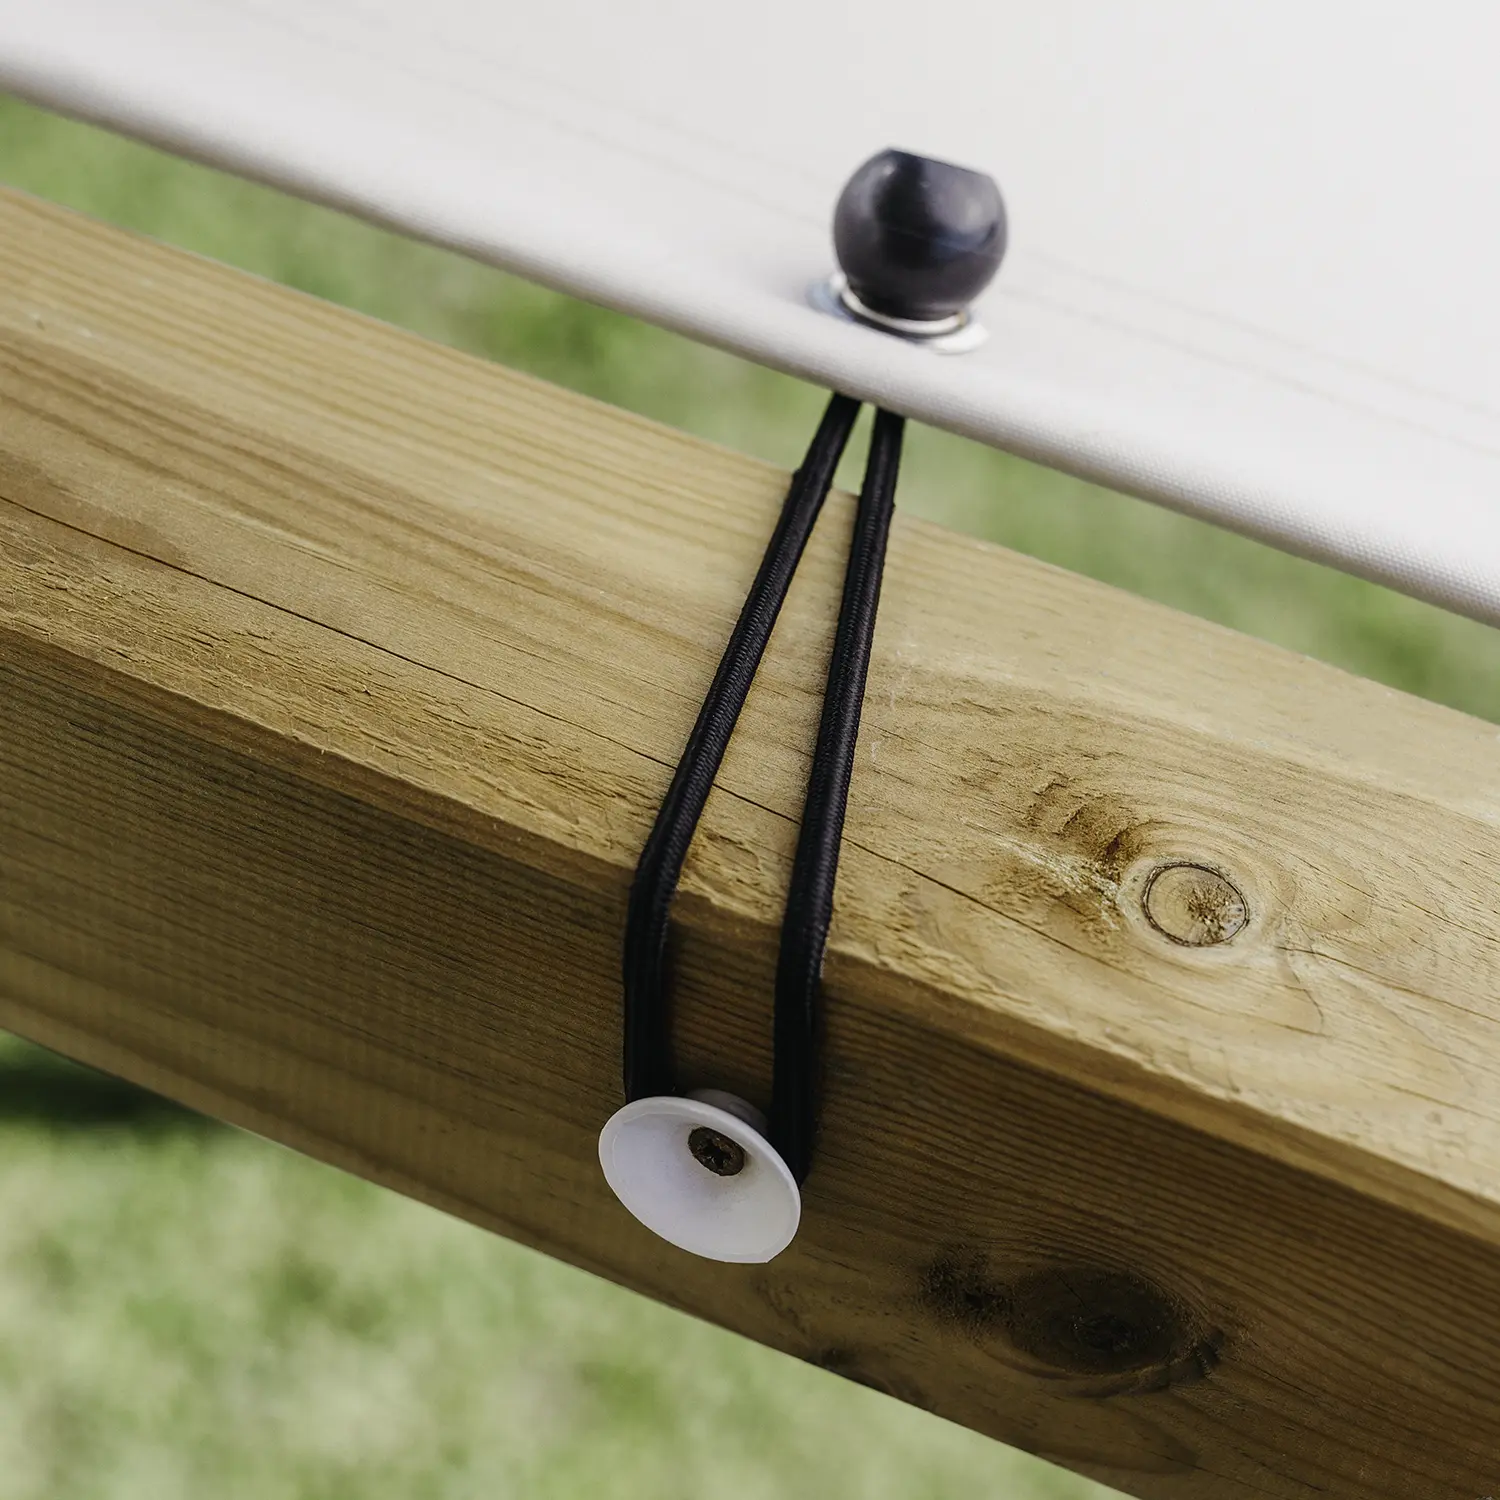
You can attach buttons to the top or side of the perimeter beams and run a bungee cord between buttons and eyelets, creating a zigzag effect that provides strength and tension. Pay attention to the tension applied to the elastic cord so that it is even and sufficient to keep the sheet firmly attached to the button even in windy conditions.
In the case of metal pergolas or those with beams that are not particularly bulky, you can use bungee cord to be passed around the beam and through each grommet. While this solution may be more aesthetically pleasing, it is less practical if you need to remove the eyelet sheet.
In the case of pergolas with tubular frames or particularly thin beams, you can use common electrician's ties to be passed around the pergola tube and into each eyelet.
All of these types of applications are suitable for wooden or metal arbors.


Installation of the buttons to the structure may be done using self-tapping screws, which are not provided.
We recommend that you use screws suitable for the support available to you.
The size of the screw for attaching the button is M6 diameter, recommended length 1.5 inches in case of wooden support.
In the case of horizontal installation, as a cover on a pergola, the eyelet fabric must be properly tensioned; this may generate a slight elongation of the fabric caused by the warp and weft construction.
When purchasing, we recommend calculating the size of the fabric by subtracting the percentage of elongation shown below.
| Fabric type | % Elongation |
|---|---|
| Braidd5® | 2% |
| Purishade® | 1% |
| Meshnet® | 2% |
| Clear® | 1% |
Example: if the necessary tarpaulin eyelet with Meshnet fabric has a size of 500 cm x 500 cm, the calculation will be 500 cm - 2% = 490 cm x 490 cm